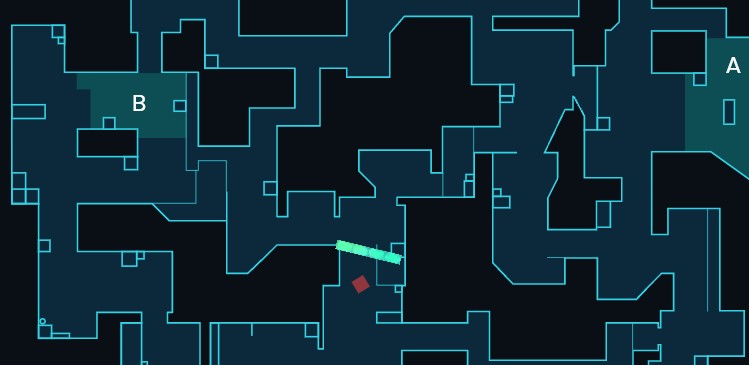
ロングウォール無しで有用性の高そうな壁をYoutubeの動画などから集めてみました。
目次
攻め
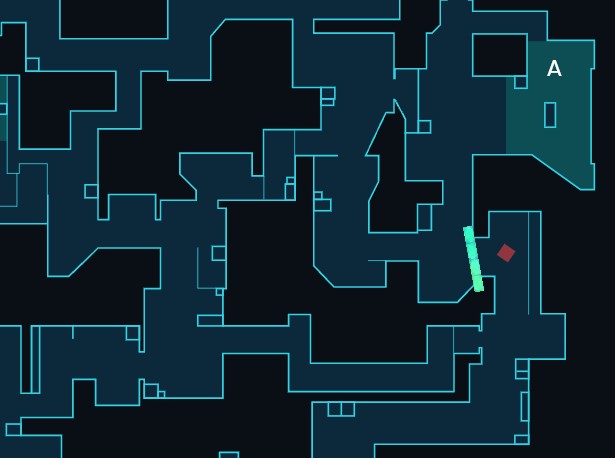
Aサイト
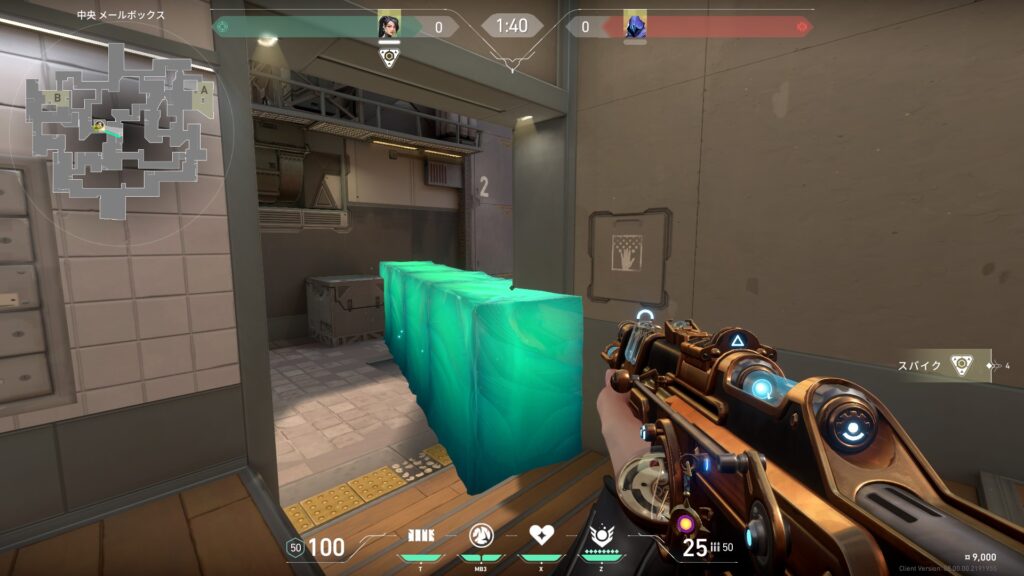
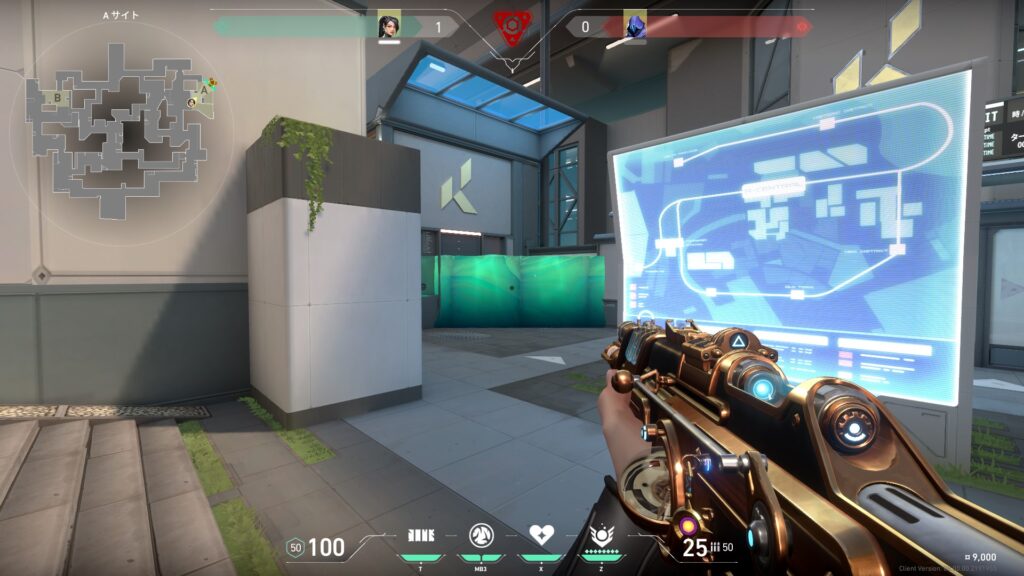
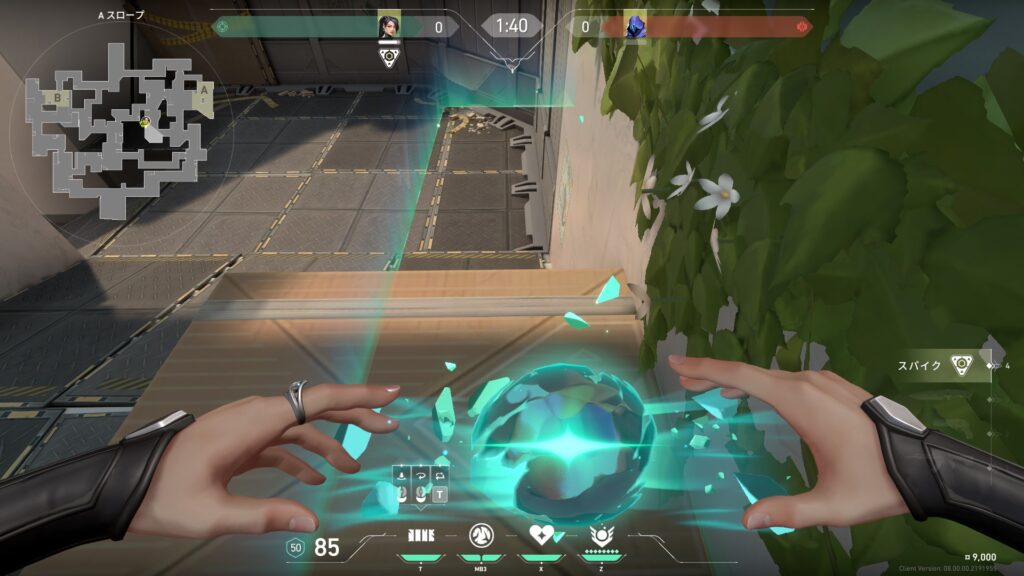
Aタワー奇襲壁
Aメインから、タワーへ奇襲できる壁です。
セージはスパイクを持つことが多いのであまり使う機会がないかもしれませんが、有用性の高い壁です。
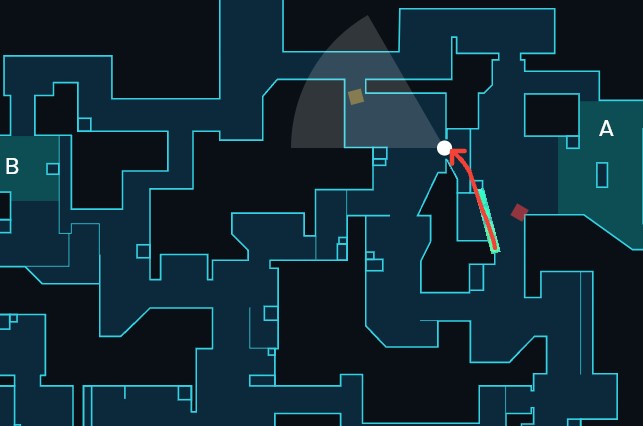

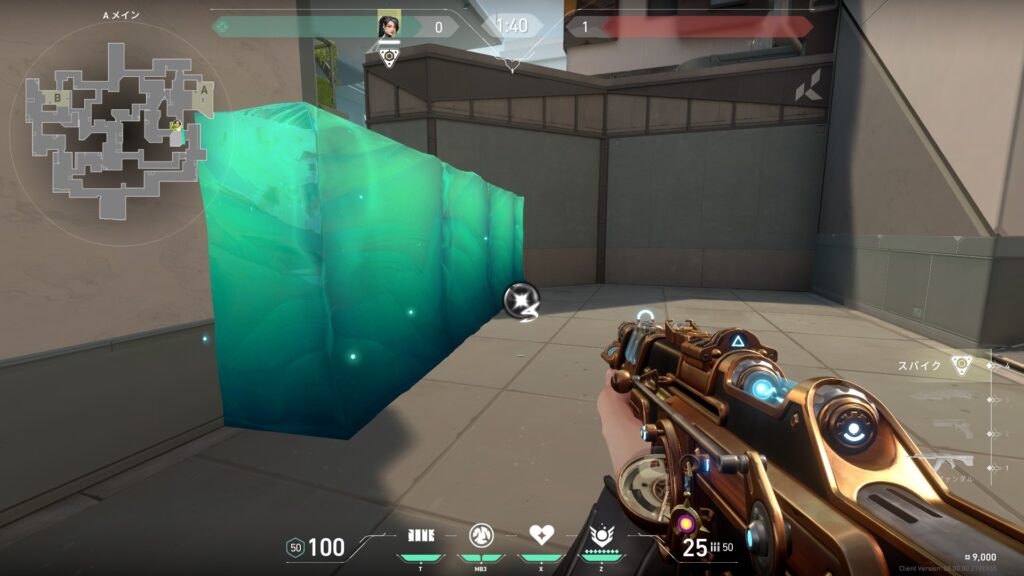
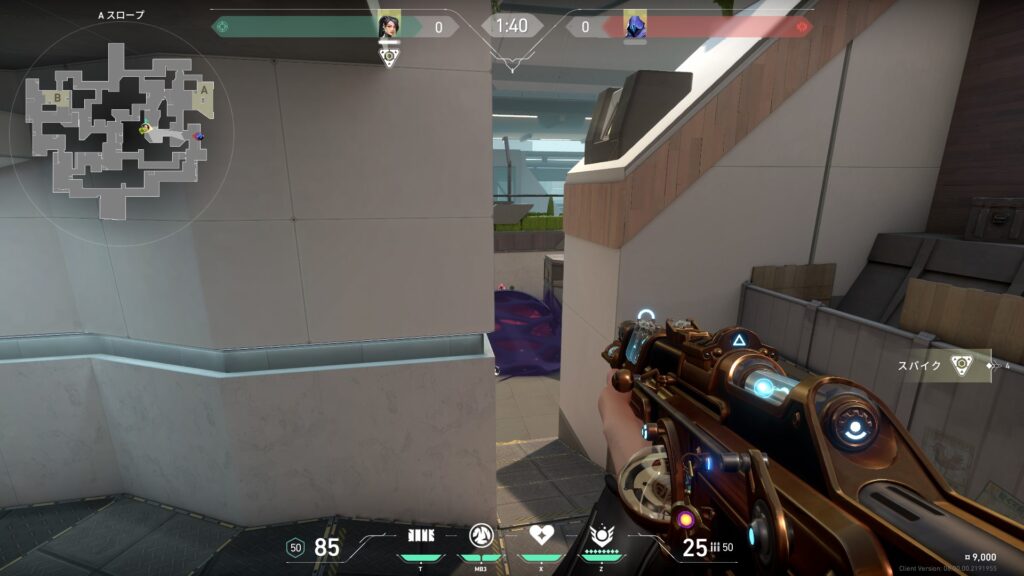
設置後スパイク隠し壁
メイン設置・オープン設置の両方で使える小技壁です。
相手は氷を壊さないとスパイク解除ができないので、時間稼ぎができます。
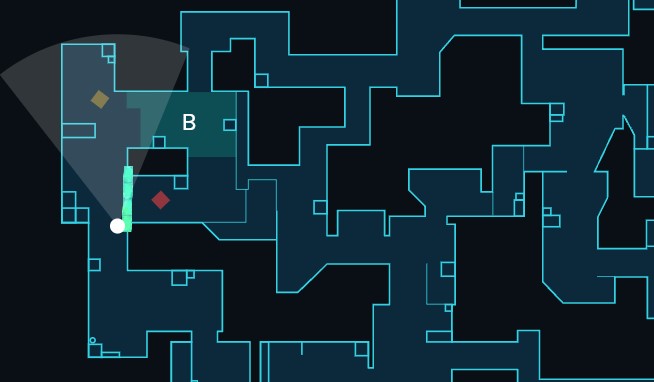
Bサイト
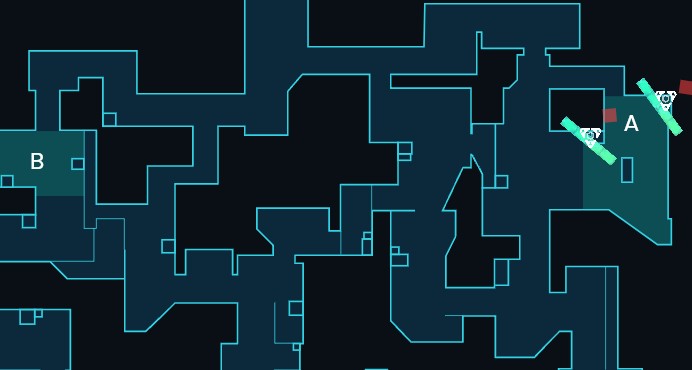
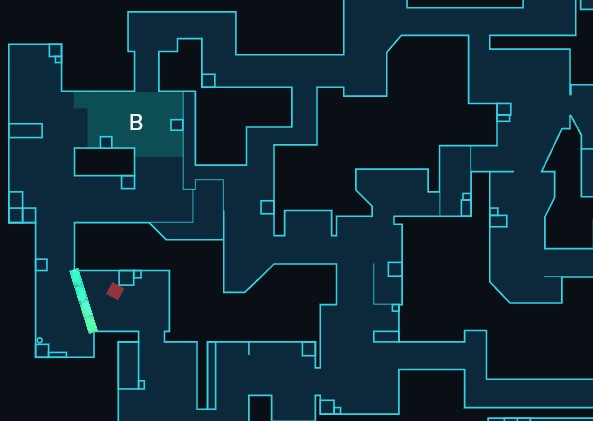
Bエントリー壁
Bタワーなどからの射線を切りつつBサイトへエントリーできる壁です。

守り
Aサイト
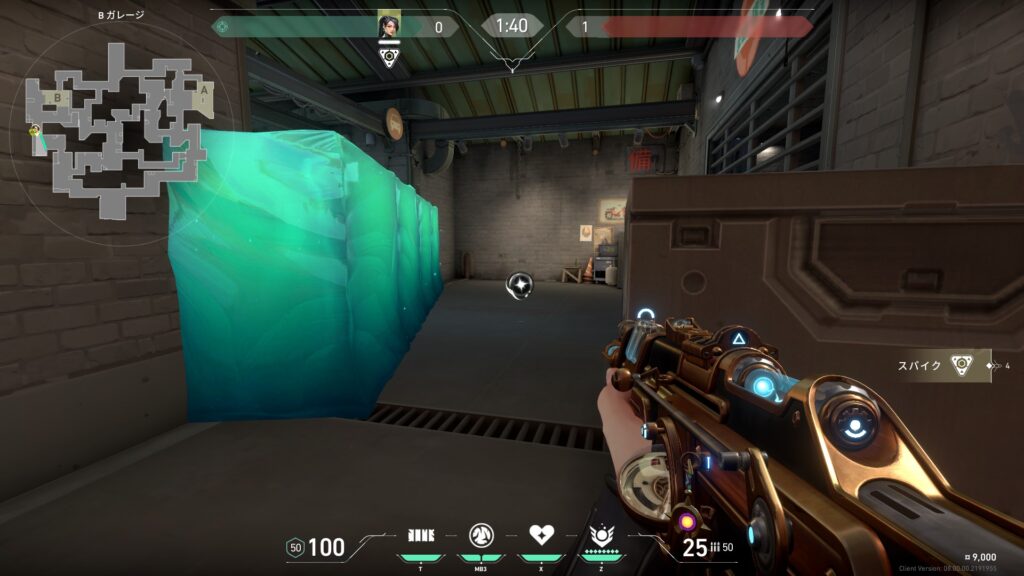
メイン塞ぎ兼オーブ回収壁
オーブ回収しつつメイン侵攻を防げる壁です。
壊されれば敵が来ていることがわかり、壊されなければオーブ回収した後にローテーションしやすくなります。
スモーク越し覗き壁
開幕Aメインにスモークを貰った状態で、スモークの上から覗けます。
スモーク無しでもオフアングルから撃ち合えます。
ロングウォールにしなくても使えます。

Bサイト
メイン塞ぎ兼オーブ回収壁
オーブ回収しつつメイン侵攻を防げる壁です。
壊されれば敵が来ていることがわかり、壊されなければオーブ回収した後にローテーションしやすくなります。
ミッド
ミッド塞ぎ壁
スプリットセージで最も有名でシンプルに強い壁です。