ロングウォール無しでお手軽に使える有用性の高そうな壁をYoutubeの動画などから集めてみました。
目次
攻め
Aサイト
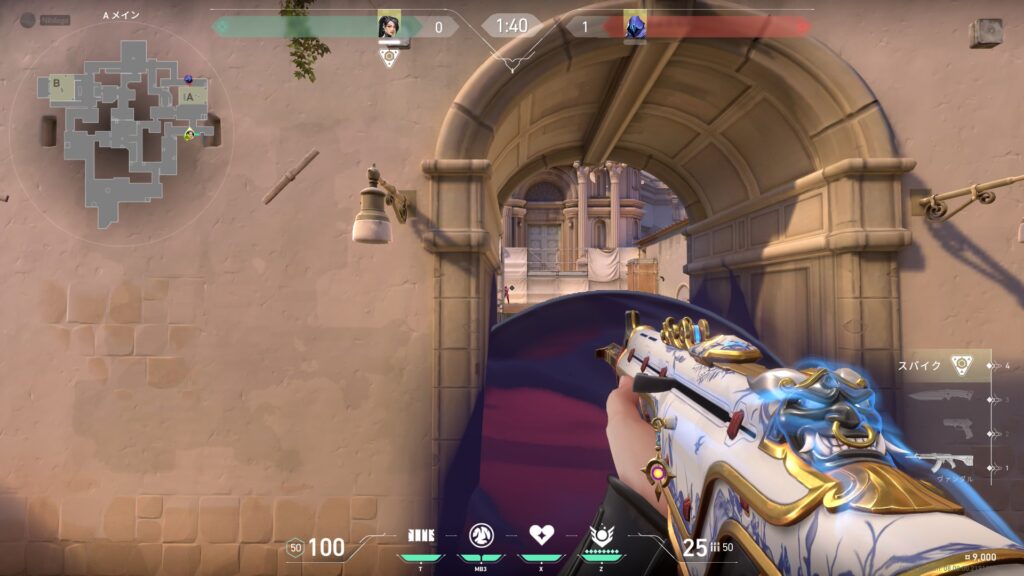
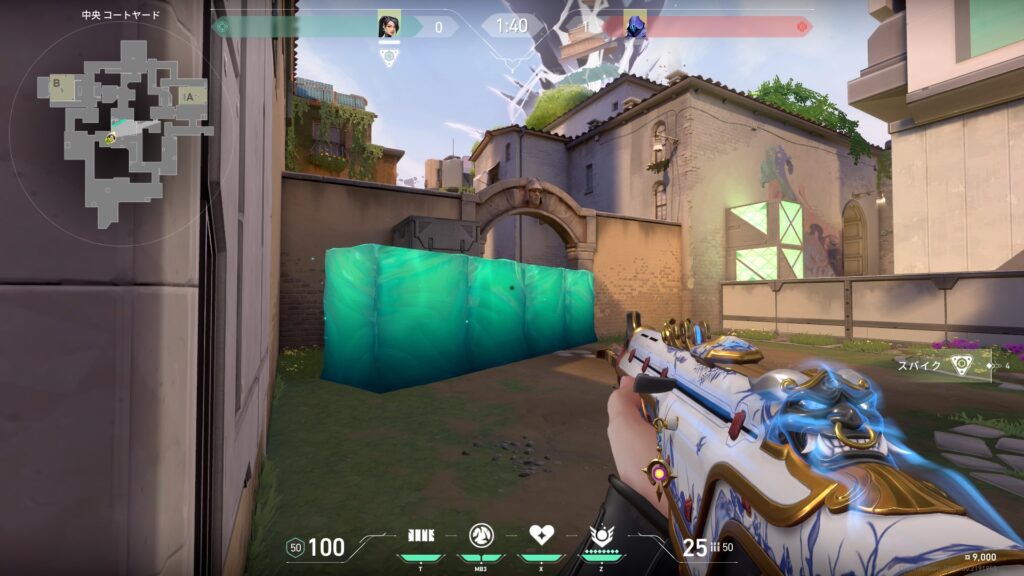
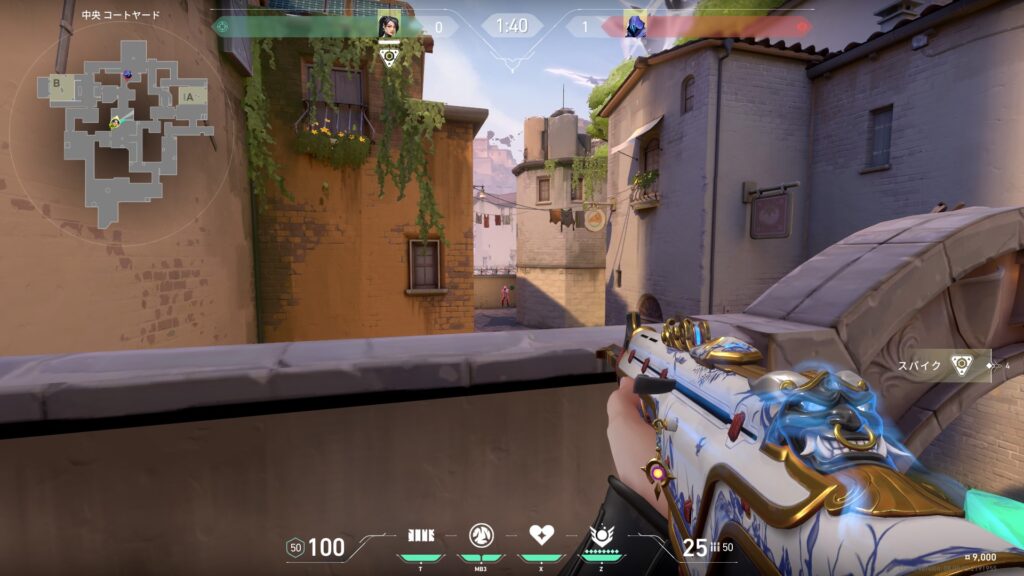
ヘヴン勝負壁
メインスモークの上からヘヴンと勝負できる壁になります。
Bサイト
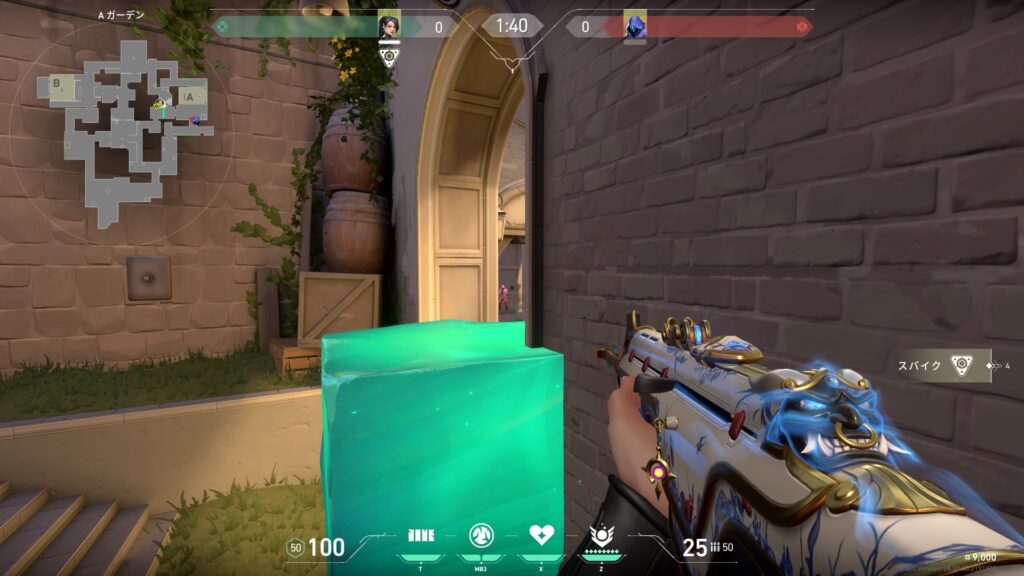
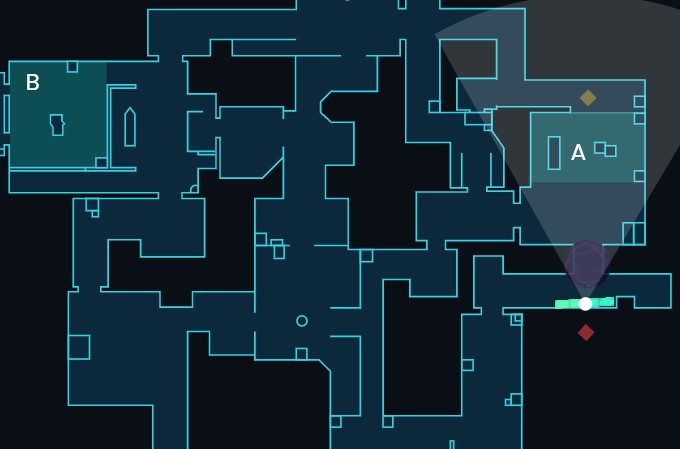
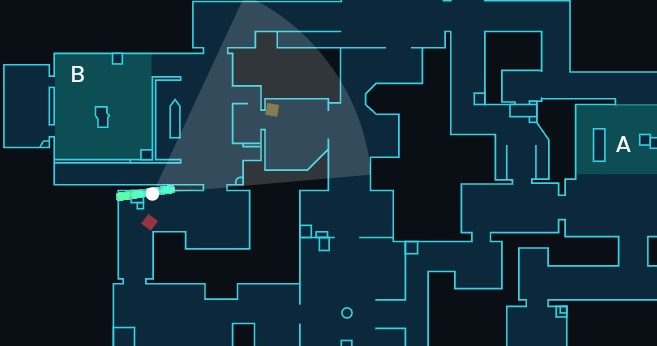
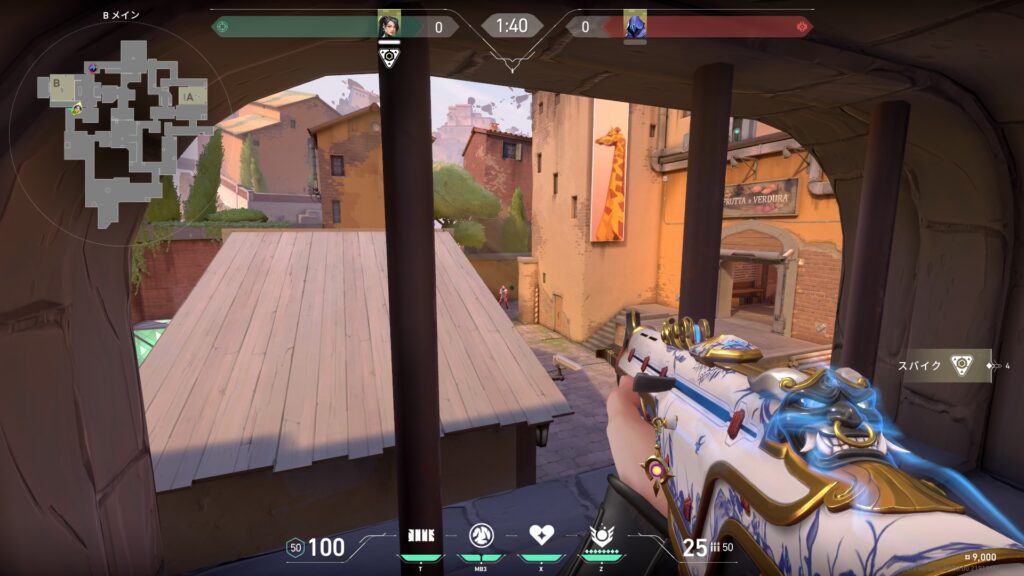
Bメインオフアングル壁
Bメインのオーブのおいてある箱上から、壁に沿って少し斜めに壁を焚くことで簡易的にロングウォールを再現することができます。
この壁を作ることで、Bサイト内・マーケット・CTに射線を通すことができます。


ミッド
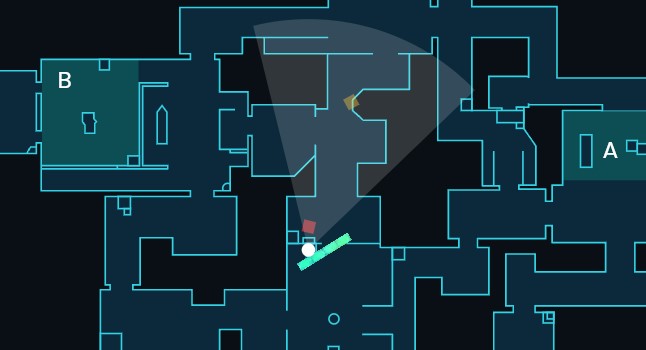
B→Aサイト流れ時のミッド壁
BからAサイトへ流れる時にミッドを塞ぐ壁です。
スパイクを味方に渡した後、コンテナ上に乗ってミッドに射線を通すことができます。
守り
Aサイト
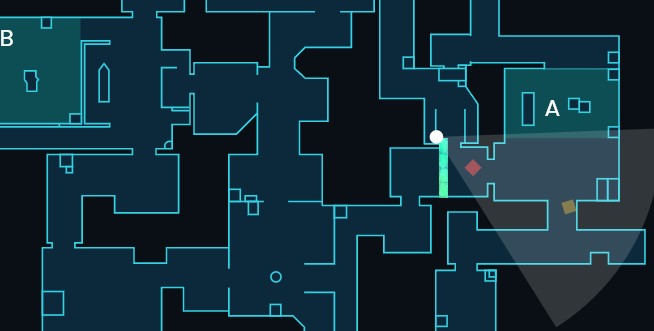
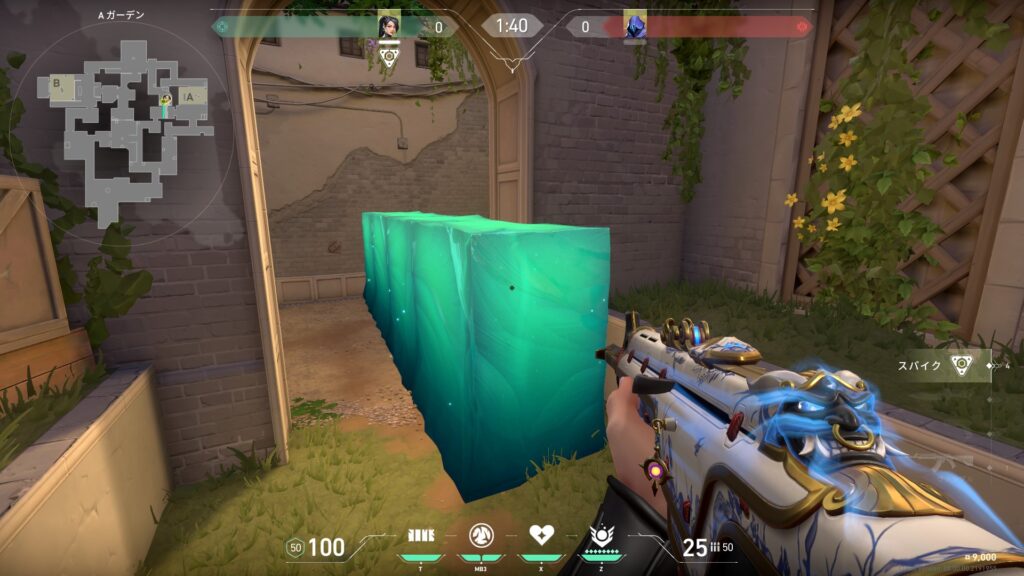
Aショート塞ぎ壁
Aショートを塞ぎつつ、Aメインへ頭出しで射線を通せる非常に強力な壁です。
ツリー側にスモークがあるので、基本はスモーク抜きでの射撃になるかと思います。
段差を使うことで、簡単に壁上にも乗ることもできます。